Little Known Facts About 4throws.
Little Known Facts About 4throws.
Blog Article
4throws for Beginners
Table of Contents4throws Fundamentals ExplainedThe 6-Second Trick For 4throws4throws Can Be Fun For AnyoneSome Known Factual Statements About 4throws Getting The 4throws To Work
The guidelines of shot placed especially state that the shot need to start on the neck and surface near the neck. They also state that the shot should not go down below the line of the professional athlete's shoulders during any point of the put.
On the various other hand, attempting to toss a shot in the traditional feeling would be a calamity for the arm and shoulder. And referring to 'throws,' i.e., technological elements during the "toss," doing "6 complete throws" and so on, is basic terms.
The Greatest Guide To 4throws
The first step for beginners learning how to throw the shot put is a good stand throw. There are distinctions between the stand throw for the move and the spin.
The body angle is much more bent over the right leg, and the activity is a lot a lot more vertical than rotational. The proper positioning of the shot in the hand is at the base of the fingers at the top of the hand, with the thumb sustaining the bottom of the shot - Throwing shoes.
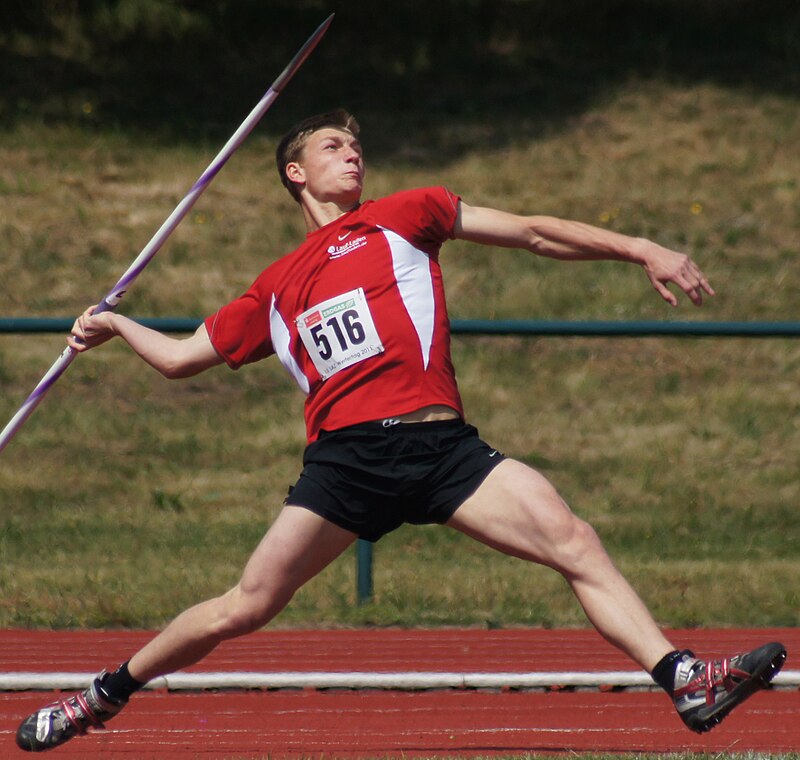
Ensure the shot is safe and secure so it will not fall out of the hand and harm the athlete. The positioning of the shot put on the neck is behind the ear and below the jaw.
The arm joint ought to comfortably flex so the shot is snug against the neck. The placement of the shot in regard to the body before beginning the movement needs to be behind the appropriate heel. The shot must always lag the right heel in the beginning position for the stand toss.
Indicators on 4throws You Need To Know
Start with the left foot by the toeboard and the ideal foot in the direction of the facility of the ring. There should be a heel-to-toe relationship with the feet, where the ideal heel needs to be in a straight line with the left toe.
The right foot ought to be directed at 10 o'clock (visualize the ring as a clock that you are looking down upon). A heel to toe connection is crucial when discovering exactly how to toss the shot put. The front leg ought to be practically (not completely) directly, and the back leg must be curved at a 50- 80 angle.
Maintaining the upper body directly takes full advantage of power transfer from the reduced body to the shot - Discuses. There ought to be a straight line from the athletes head down to the left heel.
It's important that at this phase, the shot doesn't relocate at all. This starts with the ideal foot turning, complied with by the right knee and then the appropriate hip. The goal is to create stress or stretch in between the upper and lower bodyDuring the appropriate side pivot it's important that the shot remains back.
The 4-Minute Rule for 4throws

(https://telegra.ph/Elevate-Your-Game-with-Javelins-for-Sale-Track-and-Field-Equipment-and-Discus-for-Sale-01-13)The last stage is the placing motion with the right arm. The top body placement, not the arm angle, establishes the release setting. Kovacs goes on to claim "If you're simply trying to hit hard, you're tossing the sphere.
Enjoy trainer Newell instruct the sequence of activity. Lots of posts and trainers say points like "blow up off the right" or "push off the right." While good-intentioned, this is just one of the most awful coaching cues around. Why? Since it saps a considerable quantity of power from the throw and leads to all kinds of inaccurate positions.
Some Known Factual Statements About 4throws
Remaining based helps move every one of the power generated by the reduced body to the shot. If a professional athlete 'pushes off the right,' they shed that turning and generally come off the ground. As soon as a thrower leaves the ground, they no more have anything to press versus, which is problematic.
Report this page